What is a dial test indicator used for?

Anyone working with a lathe or other heavy-duty machine tool knows that precision is essential for a successful outcome, as well as helping to keep machine operators safe. Over many years, machine tooling accessory makers have offered measurement tools called indicators to help machine operators keep an eye on machine performance. Dial indicators are the most popular measurement tool by far, and the dial test indicator has become a must-have indicator for many who operate industrial machines.
What Is a Dial Test Indicator?
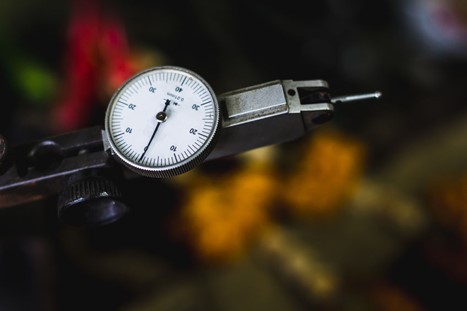
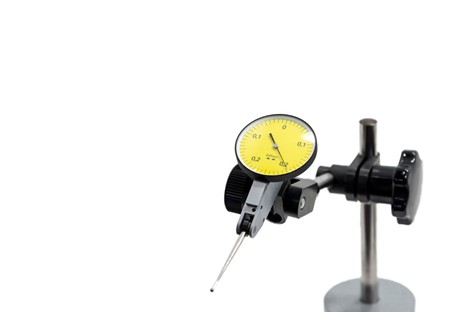
One of the main things to be aware of when selecting dial indicator gauges for machinery is that there is a difference between two major indicator styles. If you search for a dial indicator, what you often find are standard model indicators. Dial test indicators may also appear in a search, but you may wonder if there are any differences between the two, since they both look pretty much the same. They both have round dial shapes, numbers, and a pointer hand — a design that resembles a clock face. Each style also has a metal sensor at the bottom.
And yet, there are some distinctive differences that are important for choosing one over the other. Look closer, and you can see that a dial test indicator has the sensor contact attached to a lever that you can move at an angle. Standard dial indicators have a straight plunger style sensor that can be pushed upwards. Another way to distinguish the two is in the area of function. Dial indicators are used primarily for measuring gauges and fixtures. Alternatively, the dial test indicator is most often used for surface plate layout work or indicating measurements during machine setup. The word “test” is also an easy way to always choose the right indicator. Often, they are just called test indicators.
Uses of a Dial Test Indicator
Test indicators can make a machine operator’s job a lot easier because they can measure what the human eye cannot see. They are particularly helpful for those working with lathes, jig borers, and milling machines. Test indicators make checking for flatness, roundness, or runoff a snap. They can also help an operator locate part center.

How to Use a Dial Test Indicator Gauge
Learning how to use a dial test indicator gauge is best done with a hands-on approach. Many people learn about them from various on-the-job experiences. If you are working at a small machine shop or home workshop, you can find tutorials that go into greater detail about their operation. For now, this brief overview can give you a head start.
The first step in using a dial test indicator is getting it properly calibrated. The goal is to get the hand pointer to point to zero on the face dial. You can spin the indicator’s bezel until you see it at zero. This should always be the starting point for your indicator. Now you are ready to begin measuring. Test indicators perform best when you can adjust the tilting lever arm to be as perpendicular as possible with the machine part surface. When you are satisfied, lock the arm into place. Read the indicator as the machine part moves, which in turn, moves the indicator hand. This step requires knowing what measurements are ideal for a specific machine’s optimal operation.
